Xinya Blog / Oct 13, 2026
How to Specify a Custom Wire Harness: 12-Point Checklist
Tags: Build to Print, Connector Selection, Custom Wire Harness, Wire Harness Assembly, Wire Harness Drawing, Wire Harness Specification
Every custom wire harness order starts with a specification. When that specification is complete, the quotation comes back faster, the first sample is approved without rework, and production runs without clarifying emails. When it is incomplete, the harness house has to fill the gaps with assumptions — and assumptions are usually corrected later, at your cost.
This guide lists the twelve points that decide how a harness is built, tested and priced. Use it as a template for your drawing or BOM, or answer the questions directly in the wire harness configurator and export a specification sheet.
Why a complete specification pays for itself
A wire harness is not a catalogue part. Two harnesses that look identical on a photo can differ in conductor stranding, crimp tooling, sealing class and test routine — and those differences drive both the price and the field failure rate. A specification that names each of them removes three common sources of delay:
- Clarification loops. Every undefined point becomes an email. Ten undefined points become a week of back-and-forth before the quotation is even issued.
- Sample rework. A harness built to an incomplete specification is correct only until the first test report or the first fit check on the machine.
- Quotes that cannot be compared. If two suppliers interpret your requirement differently, the cheaper number is not cheaper — it is a different product.
The 12-point harness specification checklist
1. Wire style and standard
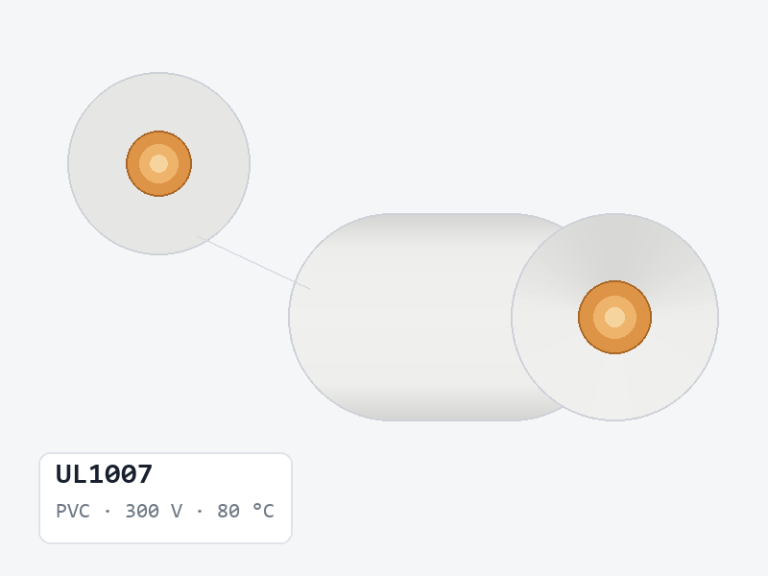
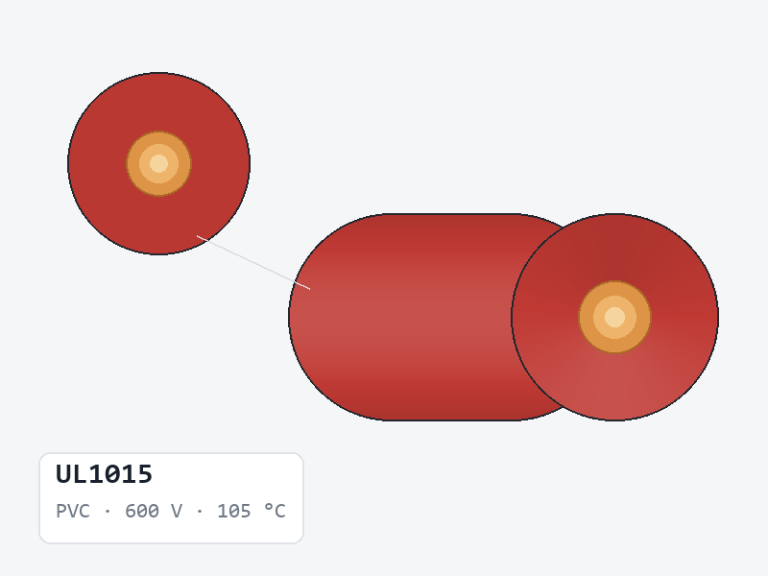
Name the exact wire style, not just the gauge. “18 AWG wire” is a size, not a specification: UL1007, UL1015, an XLPE style and a fluoropolymer style can all be 18 AWG and behave completely differently. State the UL style number, the harmonised designation (for example H05V-K or H07V-K) or the equivalent standard, and link the construction data. Our UL PVC hook-up wire family, XLPE family and fluoropolymer family pages publish the construction tables for each style.
2. Conductor size and construction
Give the AWG and the stranding, for example 18 AWG / 16 strands x 0.254 mm. Stranding decides flexibility, flex life and how well the conductor crimps into a small terminal. Add whether the copper is bare or tinned — tinned copper resists corrosion and helps in high-temperature or humid environments, but it costs more and is not always necessary.
3. Voltage and temperature rating
State the working voltage of the circuit and the maximum conductor temperature the harness must survive, including the ambient temperature inside the enclosure and any radiant heat from a motor, lamp or inverter. The lowest-rated component in the assembly sets the limit, so the rating of the connector and the sleeving matters as much as the wire.
4. Insulation, jacket and colour code
Define the insulation material, then the colour scheme. Write the code out explicitly — for example “power red, return black, signal blue/white striped with a printed legend per wire” — or attach a colour chart. Where several wires share a colour, printed legends or numbered markers prevent assembly errors on the line.
5. Shielding and drain wire
Say whether the harness is unshielded, foil shielded with a drain wire, braid shielded, or foil plus braid. For shielded constructions, also specify the coverage percentage and how the shield terminates: a pigtail drain, a drain crimped into a spare contact, or a 360-degree termination at a metal shell. Shield termination is one of the most common omissions and one of the most common causes of EMC problems in the field.
6. Connector and housing
Give the manufacturer, the series and the exact part number, plus the gender, pin count, keying and whether the connector must be sealed. “A three-pin connector” is not enough: a JST, a Molex and a HongXing part with the same pin count are not interchangeable in tooling, mating cycles or current rating. If the connector is customer-specified, provide the part number and, where possible, the mating half.
7. Terminal and crimp specification
Name the terminal part number and the termination method — crimp, solder, or ultrasonically welded — and state the inspection criteria you expect. For crimped terminations this normally means the conductor crimp height, the insulation crimp, and a minimum pull-force value. If your industry requires it, ask for a sample pull-force record with the first article. Machine-crimped leads to a defined specification are covered on our terminal crimped wire leads page.
8. Sleeving, tubing and strain relief
Specify heat-shrink where a joint or shield termination must be insulated, braided sleeve where the bundle needs abrasion protection, split loom where wires may be added later, and a boot or grommet wherever the harness passes through a panel. If the assembly is over-moulded, say so — it changes the tooling and the lead time, as described on the over-moulded cable assembly page.
9. Branching, breakouts and geometry
Describe the topology: how many breakouts, the length of each branch, where the ties or clips sit, and the overall bundle diameter. For tight installations, add the minimum bend radius and any fixed tie-down points. A 1:1 drawing of a physical sample is the fastest way to communicate a three-dimensional shape.
10. Cut lengths and tolerances
Define what the length refers to — pin-to-pin, end-to-end including the terminals, or end-to-end excluding them — and give the tolerance, for example ±5 mm on branches under 300 mm. Length is the single most frequent reason a harness does not fit. Ambiguity here is worth more discussion than the wire gauge.
11. Testing and inspection
List the tests the harness must pass and the evidence you want to receive. Typical requirements are 100% continuity and open/short testing, a hipot or insulation-resistance test on higher-voltage assemblies, dimensional checks, and a first-article inspection report. Ask for the test data in the format your quality department files — a signed report, a CSV export from the test fixture, or the fixture’s own printout.
12. Labelling, packaging and traceability
Decide what the label must carry: part number, revision, date code, batch or serial number, and any customer barcode format. Then define the packaging — individual bag, layered tray, carton with a divider, quantity per carton — and the traceability requirement, which determines how long production records must be retained. This point is easy to defer until the first shipment, and expensive to change afterwards.
A worked example: a control-panel harness
The table below shows how a twelve-point specification looks when it is written for a real assembly, in this case a sealed control-panel harness for industrial machinery.
| Point | Example entry |
|---|---|
| Wire style | UL1015, 105 °C, 600 V |
| Conductor | 18 AWG, 16 x 0.254 mm, tinned copper |
| Voltage and temperature | 24 V DC control circuit, 90 °C maximum at the conductor |
| Insulation and colour | PVC; brown, blue, black and green/yellow, printed legends on each wire |
| Shielding | Unshielded for power, foil plus drain on the encoder pair |
| Connector | Sealed 6-pin plug, IP67, customer-specified part number, keyed, with mating socket |
| Termination | Crimped terminals to the connector manufacturer’s specification, pull-force record supplied |
| Protection | Braided sleeve over the main run, heat-shrink over each branch end, grommet at the panel entry |
| Topology | Two breakouts, 180 mm and 320 mm, one tie point at 450 mm from the plug |
| Lengths | Main run 1,200 mm ±10 mm, measured pin to pin |
| Testing | 100% continuity and open/short test, dimensional check, first-article report |
| Labelling | Heat-shrink label with part number and date code, 25 pieces per carton |
A specification written at this level can be quoted, built and inspected without a single clarifying question. If your assembly is less complex, the same twelve headings still apply — most will simply be answered “standard” or “not required”.
What to put on the drawing itself
If you already have a drawing, check that it carries the following before you send it:
- A title block with part number, revision, date and the person who approved it.
- A top-level view showing the harness shape and overall dimensions, drawn 1:1 where the assembly is small enough.
- A connector table listing the reference designator, housing, terminals, seals and the mating connector for each end.
- A wire table listing the reference designator, style, AWG, colour and printed legend, and the from/to points of each wire.
- General notes covering the crimp standard, the test requirement, the labelling rule and the packaging rule.
- A revision history, so that a change on the production floor can be traced to a document.
If a formal drawing does not exist yet, that is not a blocker. A labelled photograph, a list of the connectors, a measurement of the routing path and the electrical function of each wire is enough to start. Build the specification in the harness configurator and we will return a specification sheet you can check before any tooling or cutting begins.
Common specification mistakes that delay a quotation
- Specifying a wire size but not a wire style. AWG alone leaves temperature, insulation and approval open.
- Listing a connector family but not the part number. Pin count and pitch rarely identify a single housing.
- Leaving the shield termination undefined. The drain wire has to go somewhere, and where it goes changes the build.
- Giving a single overall length for a branched harness. Branch lengths, not the longest wire, decide whether the assembly fits.
- Omitting the test requirement. “Tested” means different things in different factories; a test list makes results comparable.
- Changing the length or colour after the sample is approved. Both usually mean new cut lengths, new crimp settings and a new first-article report.
Send your specification to Xinya
Suzhou Fuxi Electromechanical Equipment is a wire harness manufacturer, and we are also the authorised Suzhou distributor of Xinya brand electronic wire — so the wire and the finished harness come from one place, with the construction data to match. We build to print and build to sample, and we can start with a prototype before you commit to volume.
Send the drawing, the BOM or the twelve answers above through the request a quote form, or configure the assembly first with the wire harness configurator. If you would rather see the range first, start from the wire harness catalogue, the assembly services page, or the industrial automation application group.
Frequently asked questions
Do I need a full drawing to get a quotation?
No. A connector list, the wire styles, the branch lengths, the quantity and the function of the assembly is enough for us to quote. A drawing makes the first sample more predictable, but it can follow the quotation.
Can you build a harness from a physical sample instead of a drawing?
Yes. Send the sample, or clear photographs with a ruler in view, and note anything that must change, such as a longer branch or a different connector. We reverse the specification from the sample and confirm it with you before production.
How long does a harness sample take?
Sample lead time depends on the wire styles and the connectors required. Standard hook-up wire and common connector families are normally available quickly, while custom housings or tooling add time. We confirm the sample schedule together with the sample quotation.
Which wire styles do you normally use for harnesses?
UL1007 and UL1015 PVC hook-up wire cover most control and power wiring inside equipment. Where the temperature is higher, or the harness has to flex continuously, we move to an XLPE style such as the ones on our XLPE hook-up wire page. Drag chain and robotic applications use flexible control cable instead; the selection logic is explained in our guide to drag chain cable selection.
Do you supply the connectors, or should we supply them?
Either works. We can source standard JST, Molex and HongXing parts, or build with connectors that you specify or supply. If we supply the housing, we also supply the mating half where it is available, so the harness can be tested as a pair.
How do you make sure the length is right?
Length is defined once, in writing, with the measuring convention and the tolerance: for example, 1,200 mm pin to pin, ±10 mm. For a complex routing path we ask for the path measurement or a mock-up, because a harness that is correct on paper can still be tight around a bend.
Where can I read more about wire selection?
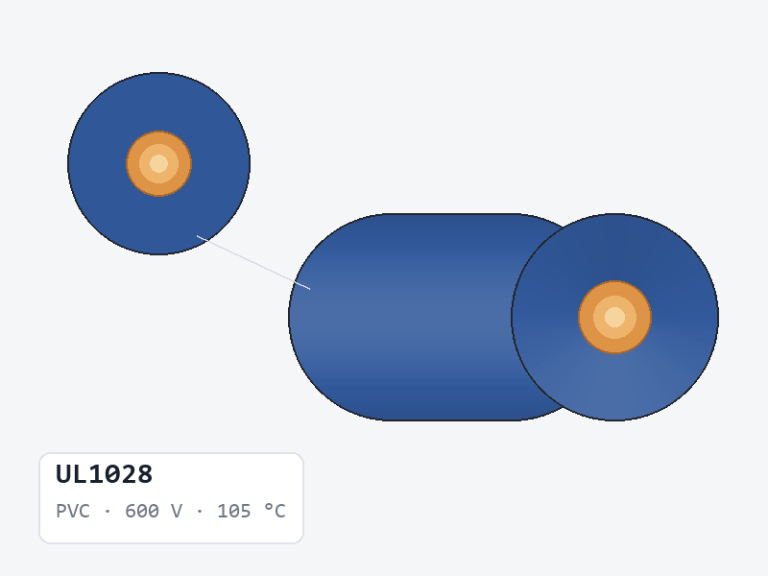
Our PVC hook-up wire comparison covers UL1007, UL1015, UL1028 and UL1032 side by side, and the wire selector narrows the catalogue by voltage, temperature and approval.